Development

NestJS and Kafka

The Apache Kafka message queue easily integrates into NestJS servers, as described in the respective documentation. This article gives you a short overview of default communication behavior, some of the possible features and configurations and some good practices.

Overview of Basic Kafka Features in NestJS

NestJS Integration

  • Summary: NestJS facilitates the integration of Kafka, offering a streamlined approach for both message production and consumption within applications.
  • Default Behavior: Through the use of decorators and modules, NestJS abstracts much of the complexity involved in setting up Kafka clients, enabling straightforward message handling capabilities.
  • Configuration: Kafka can be configured at various points within a NestJS application, including during bootstrap for global settings, within the AppModule for application-wide settings, and within feature modules for localized settings. This flexibility allows for detailed control over consumer groups, error handling, and message retry strategies.
  • Bootstrap Initialization: Initializing Kafka in the bootstrap function is essential for setting up the Kafka microservice within the application context. It allows the app to connect to Kafka as a microservice. Global Kafka configurations, such as consumer group settings and error handling strategies.
    const app = await NestFactory.create(AppModule, …)
    app.connectMicroservice(kafkaOptions)
    await app.startAllMicroservices()
    await app.listen(4000, '0.0.0.0')
  • AppModule Initialization: You often see an application-wide Kafka configuration in the main AppModule, potentially overriding or complementing bootstrap settings. This makes no sense and is completely redundant with the anyway mandatory bootstrap-initialistion. So don’t do it.
    @Module({
      imports: [KafkaModule.register(kafkaOptions)]
    })
    export class AppModule {}
  • Feature Module Kafka Client Injection: Necessary when using kafka service injection to produce messages (this.kafka.emit(topic, data)) or when needing explicit control over the Kafka client in a specific module. When you’re only consuming messages using @EventPattern or @MessagePattern, without the need to explicitly produce messages within a service, the direct injection of Kafka (ClientKafka) might not be necessary. The @EventPattern and @MessagePattern decorators can be used in controllers or providers to handle incoming Kafka messages without the need for direct client injection.
    @Module({
      imports: [ClientsModule.register([{ name: 'kafka', kafkaOptions }])],
      providers: [XyzService],
      controllers: [XyzController],
      exports: [XyzService]
    })
    export class XyzModule {}
  • Service Injection: Kafka injection in a service requires the above mentioned featre module Kafka client injection. Then in the cnstructor of class XyzService, you can use the following pattern to get access to kafka client functions, namele this.kafka.emit. The name in
    @Inject('kafka') is arbirrary and must match name: 'kafka' in ClientsModule.register.

    constructor(@Inject('kafka') private kafka: ClientKafka) {}

One-to-Many Broadcast

  • Summary: Kafka’s model allows for broadcasting messages to multiple consumers. All consumers subscribed to a topic will receive messages sent to that topic.
  • Default Behavior: By default, all messages sent to a topic are broadcasted to all consumers subscribed to that topic.
  • Configuration: Configuration is managed at the consumer level by subscribing to topics.
  • Example:
    @Injectable()
    export class MyService {
      @EventPattern('myTopic')
      async handleBroadcastMessage(@Payload() message: any) {
        // Process message
      }
    }
    

Error Handling and Retries

  • Summary: In NestJS, unhandled exceptions during Kafka message processing lead to retries, affecting the message’s processing within its topic or potentially the entire client group if only a single processing thread is available.
  • Default Behavior: Throwing an exception in an event handler indicates to Kafka to retry the message. This may block further processing of the topic or the entire client group if it operates with a single thread.
  • Configuration: To manage retries and error handling more granularly, disable auto-commit and control offset commits manually, or use specific exceptions like `KafkaRetriableException` for controlled retry behavior.
  • Example:
    @EventPattern('requestTopic') handleRequest(data) {
      throw new Error() // This leads to a retry
    }
    
  • Good Practice Retry Pattern: Implementing a manual retry mechanism by re-emitting the failed message back to its topic can serve as a pragmatic approach to ensure that processing attempts continue without indefinitely blocking the queue. This pattern, however, is best suited for scenarios where message order is not paramount.
    @EventPattern('requestTopic') handleRequest(data) {
      try {
        // Perform the required processing
      } catch (e) {
        this.kafka.emit('requestTopic', data) // re-add to the back of the queue
      }
    }
    

Auto-Commit vs. Manual-Commit

  • Summary: Kafka supports both auto-committing offsets and manual offset management.
  • Default Behavior: Auto-commit is enabled by default, committing offsets at a configured interval.
  • Configuration: To switch to manual commit, disable auto-commit and manually manage offset commits.
  • Example:
    // Disable auto-commit
    consumerConfig = {
      ...consumerConfig,
      allowAutoCommit: false
    }
    

Consumer Groups

  • Summary: Kafka distributes messages among consumers in the same group, ensuring a message is processed once per group.
  • Default Behavior: Consumers in the same group share the workload of message processing.
  • Configuration: Different consumer groups can be set up to receive messages independently.
  • Example:
    const consumerConfig = {
      groupId: 'myUniqueGroup' // Unique group for independent consumption
    }
    

Historical Messages

  • Summary: New consumers can catch up with all missed messages since their last offset or from the beginning of the log.
  • Default Behavior: Consumers start consuming from their last known offset.
  • Configuration: Set auto.offset.reset to earliest to consume from the beginning if no offset is stored.
  • Example:
    const consumerConfig = {
      ...consumerConfig,
      autoOffsetReset: 'earliest'
    }
    

Return Value in @EventPattern and @MessagePattern

  • Summary: Return values in message handlers don’t influence the message flow in one-way communication patterns.
  • Default Behavior: Return values are generally ignored unless in a request-reply pattern.
  • Configuration: Implement explicit messaging for request-reply patterns.
  • Example:
    @MessagePattern('requestTopic') handleRequest() {
      // Process and return response
      return {data: 'response'} // this makes no sense
    }
    

Bidirectional Communication Pattern

  • Summary: Kafka primarily supports asynchronous communication, but can be configured for request-reply patterns by emitting to a previously agreed response topic.
  • Default Behavior: Asynchronous message broadcasting to multiple consumers.
  • Configuration: Use reply-to topics and correlation IDs for request-reply communication.
  • Example: The response is received by all consumer groups registered to the topic given in message.replyTo.
    // Producer sending a request
    this.kafka.emit('requestTopic', {
      data: 'request',
      replyTo: 'responseTopic'
    })
    
    // Consumer processing and replying
    @EventPattern('requestTopic') processRequest(message) {
      this.kafka.emit(message.replyTo, {
        data: 'response'
      })
    }
    
  • Example: To limit the response to be sent only to the same group as the request has been sent, you may add the group name in the request parameters and add it to the response’s topic. Be aware, that this is your convention not a security feature. Kafka offers Access Control Lists (ACL) if you need real access restrictions.
    // Producer sending a request with group id
    this.kafka.emit('requestTopic', {
      data: 'request',
      replyTo: 'responseTopic',
      consumerGroup: 'senderGroup'
    })
    
    // Consumer processing and replying
    @EventPattern('requestTopic') processRequest(message) {
      this.kafka.emit(`${message.consumerGroup}-${message.replyTo}`, {
        data: 'response'
      })
    }
    

Data Retention and Scaling

  • Summary: Kafka allows configurable message retention, supporting scalability by adding more consumers.
  • Default Behavior: Messages are retained for a default period, with scalability limited by topic partitions.
  • Configuration: Adjust retention settings and partition counts to scale and maintain messages as needed.
  • Example:
    # Kafka CLI to adjust retention period
    kafka-configs.sh --alter \
                     --entity-type topics --entity-name myTopic \
                     --add-config retention.ms=172800000
    

Good Practice in Microservices

A well-adopted design pattern in microservices architecture involves assigning each microservice its own unique group ID, ideally derived from the service’s name. This approach significantly benefits the scalability and reliability aspects of microservices, especially when deployed in cloud environments where multiple replicas of the same service might be instantiated to handle increased load or ensure high availability.

By default, assigning a unique group ID to each microservice ensures that messages are processed just once by one of the service’s replicas. This behavior aligns with the typical requirements of distributed systems, where duplicate processing of messages is undesirable. Should the processing of a message fail, resulting in an exception, the default Kafka behavior ensures the message is retried until successfully processed by one of the clients. This mechanism usually matches the desired behavior, it follows the requirements of the twelve-factor app and can be implemented effortlessly.

However, it’s crucial to recognize that the message queue may become stuck if an unresolvable error occurs, preventing further message processing. Therefore, it’s important to differentiate between recoverable and unrecoverable errors in your code. Unrecoverable errors often stem from coding mistakes or incorrect configurations. In such scenarios, rigorous testing of the software becomes indispensable.

Identifying and handling unrecoverable errors properly ensures that the system can degrade gracefully or alert the necessary operations personnel to intervene manually. Implementing robust error handling and logging mechanisms can aid in quickly diagnosing and rectifying such issues, minimizing downtime and improving the overall resilience of the microservices architecture.

In summary, careful consideration of group ID assignment, coupled with effective error handling strategies, lays the foundation for a scalable, reliable, and maintainable microservices ecosystem. Rigorous testing plays a crucial role in ensuring that the system behaves as expected under various conditions, thereby safeguarding against potential failures that could lead to message processing stalls.

Development

Write a Common CSS Style Library

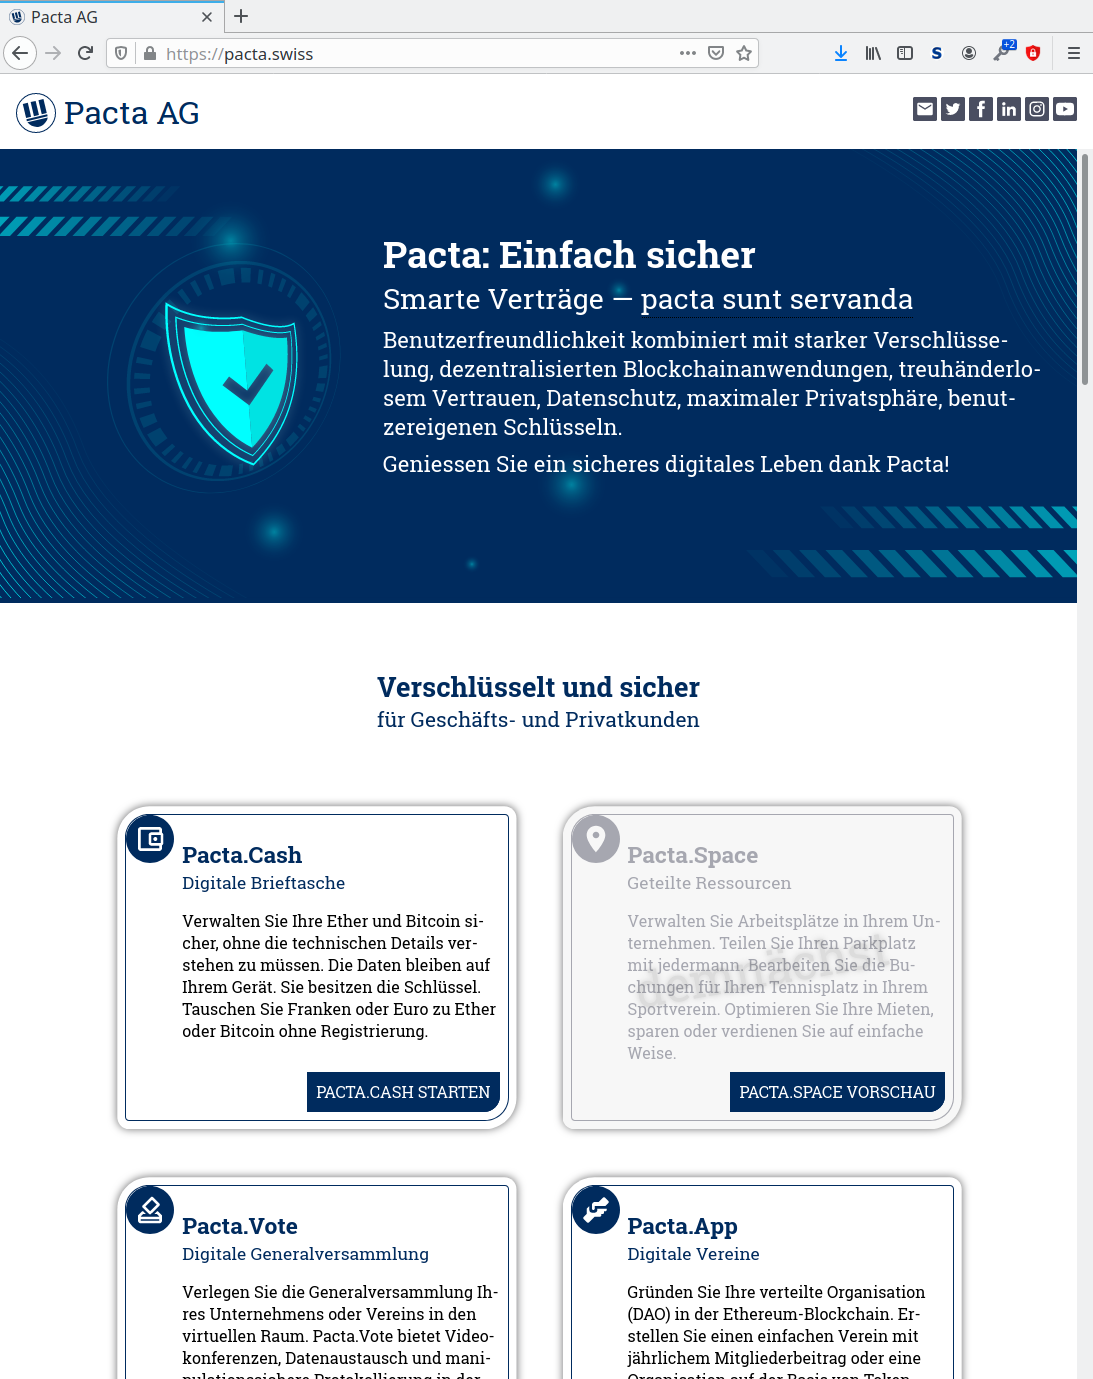
As a company that creates various products and services, mostly web applications and web based services, it is very important for Pacta Plc to have clear company identity with common look and feel in all our products and public appearances. Therefore our first step was to get official company corporate brand identity guidelines, a so called corporate identity CI. After having received our guidelines, the same designer was hired for creating a landing page. The result is what you now can see as our Pacta.Swiss corporate page. What the designer delivered, was only a sketch of the final result, which had to be implemented in HTML and CSS. Pacta styling follows best practices:

  • Pure CSS3 + HTML5.
  • No JavaScript for the basic layout. JavaScript is used in the basic design only to obfuscate the email address.
  • Clear separation of styling and structure.
  • All dimensions are relative to context (%), font (rem, em, ex) or browser size (vh, vw).
  • No absolute dimensions (no px allowed).
  • Initial font size is not defined, so the user’s configuration is respected.
  • No inline styling in HTML elements (no style=).
  • Styles are attached to HTML by element name or class.

Basic technical decisions:

  • Build environment is npm.
  • CSS is generated using Stylus processor.
  • Supported development environment is Linux only.

Initial Project Setup

We created an project pacta/style, that contains a file package.json and a folder for fonts, images, scripts and stylus.

package.json

The file package.json just holds the basics for CSS from Stylus:

  • A script npm install to install Stylus.
  • A script npm run-script build to build CSS.
  • A script npm start to rebuild when a file changed . inotifywait is a Linux tool to monitor file system changes.
{
  "name": "pacta-style",
  "version": "1.0.0",
  "dependencies": {
    "stylus": "^0.54.7"
  },
  "scripts": {
    "build-css": "stylus -c stylus/ --out css",
    "run-css": "while inotifywait -qq -e modify -r style/stylus; do npm run build-css; done",
    "build": "npm run build-css",
    "start": "npm run build-css && npm run run-css"
  }
}

All Stylus sources are in directory stylus and CSS targets are generated to directory css. This pacta/style project is included as git submodule in all other projects.

root.styl

To get a consistent look and to keep it easy to change basic settings, there are CSS variable definitions e.g. for the color palette, for basic spacing,  for the border style or for the shadow definition.

:root
    --blue100 #002b5e
    --blue90 #013466
    --blue80 #034072
    --blue70 #034b7c
    --blue60 #045a89
    …
    --border 0.1em solid var(--blue100)
    --shadow 0 0.25rem 0.25rem 0 rgba(0, 0, 0, 0.14),
        0 0.5rem 0.1rem -0.25rem rgba(0, 0, 0, 0.12),
        0 0.1rem 0.75rem 0 rgba(0, 0, 0, 0.2)
    …

grid.styl

The styles define all objects in all resolutions based on element name or class, such as grids or cards:

.grid2, .grid3, .grid4
  --grid-size 1fr
  display grid
  grid-template-columns: repeat(var(--grid-columns), var(--grid-size))
  grid-auto-rows: min-content 
.grid2
  --grid-columns 2
.grid3
  --grid-columns 3
.grid4
  --grid-columns 4
@media all and (max-width: 120rem)
    .grid4
        --grid-columns 2
@media all and (max-width: 80rem)
    .grid2
        --grid-columns 1
@media all and (max-width: 60rem)
    -grid4, .grid4
        --grid-columns 1

card.styl

.card
    display: grid
    grid-template-columns: auto 1fr
    border: var(--border)
    shadow: var(--shadow)
    width: calc(100% - 2em)
    .icon
        background-color: var(--blue100)
        width: 3rem
        height: 3rem
        border-radius: 50%
        svg, object, img
            width: calc( 100% - .2em )
            height: calc( 100% - .2em )
    > .heading
        background-color: var(--heading-bg)
        &, h1, h2, h3, h4, h5, h6
            color: var(--heading-color)
    .content
        display: flex
        flex-flow: column nowrap
        margin: .5em
        width: calc(100% - 1em)

The Landing Page

Our company landing page is Pacta.Swiss, where the company and its products are introduced. This is implemented as a static HTML page using the generated CSS. In fact, two pages, in English and German. The matching language is set from the browser through HTTP content negotiation by an Nginx server. This page’s implementation looks like:

  <body>
    <header>
      <div class="logo">
        <img src="style/images/logo.svg" alt="" /><span>Pacta AG</span>
      </div>
      <div>
        <nav class="social">
          <a>…</a>
          <a>…</a>
        </nav>
      </div>
    </header>
    <main>
      …
      <div class="container">
        <h2>…<span class="subtitle">…</span></h2>
        <div class="grid6">
          <div class="card">
            <div class="icon"><svg>…</svg></div>
            <div class="content">
              <h3>…<span class="subtitle">…</span></h3>
              <p>…</p>
              <div class="bottom"><a>…</a></div>
            </div>
          </div>
          <div class="card" disabled>
            <div class="icon"><svg>…</svg></div>
            <div class="content">
              <h3>…<span class="subtitle">…</span></h3>
              <p>…</p>
              <div class="bottom"><a>…</a></div>
            </div>
          </div>
          …
          </div>
        </div>
      </div>
      <div class="to-inverse" />
      <div class="inverse">
        <div class="container">
          <h2>…<span class="subtitle">…</span></h2>
          …
        </div> 
        …
      </div>
    </main>
    <footer>…</footer>
  </body>

React Components

Our software consists of Progressive Web Applications written in ReactJS. So we need a react component library. For this, we simply created another git project pacta/components that only contains a large amount of JavaScript React Component files and is included as git submodule into all development projects. Based on the work above, it is very easy to implement React Components, just define the parameters and return the necessary HTML structure.

Grid.js

This is the full definition of our grid layout, where you can specify size as the maximum number of grid columns. The actually shown number of grid columns depends on the browser width, as defined in the CSS you see in the snipped above:

import React from 'react';
import PropTypes from 'prop-types';

export default class Grid extends React.PureComponent {
  static propTypes = {
    children: PropTypes.oneOfType([
      PropTypes.array,
      PropTypes.object,
      PropTypes.string
    ]),
    size: PropTypes.oneOfType([PropTypes.string, PropTypes.number]),
    type: PropTypes.string,
  };
  render = () => (
    <div
      className={
        'grid' +
        this.props.size +
        (this.props.type ? ' ' + this.props.type : '')
      }
    >
      {this.props.children}
    </div>
  );
}

Card.js

A card may have an icon and a heading:

import React from 'react';
import PropTypes from 'prop-types';
import MdiIcon from '@mdi/react';

export default class Card extends React.PureComponent {
  static propTypes = {
    children: PropTypes.oneOfType([
      PropTypes.array,
      PropTypes.object,
      PropTypes.string
    ]),
    type: PropTypes.string,
    icon: PropTypes.oneOfType([PropTypes.string, PropTypes.object]),
    heading: PropTypes.oneOfType([PropTypes.string, PropTypes.object])
  };
  heading = () =>
    typeof this.props.heading === 'string' ? (
      <h2>{this.props.heading}</h2>
    ) : (
      this.props.heading
    );
  render = () => (
    <div
      className={
        'card ' + (this.props.type || '') + (this.props.icon ? '' : ' noicon')
      }
    >
      {this.props.icon ? (
        <div
          className={'icon' + (this.props.type ? ' ' + this.props.type : '')}
        >
          {typeof this.props.icon === 'string' ? (
            <MdiIcon path={this.props.icon} />
          ) : (
            this.props.icon
          )}
        </div>
      ) : this.props.heading ? (
        <div className="heading">{this.heading()}</div>
      ) : (
        <></>
      )}
      {(this.props.children || (this.props.heading && this.props.icon)) && (
        <div className="content">
          {this.props.heading && this.props.icon ? this.heading() : <></>}
          {this.props.children}
        </div>
      )}
    </div>
  );
}

Usage Example

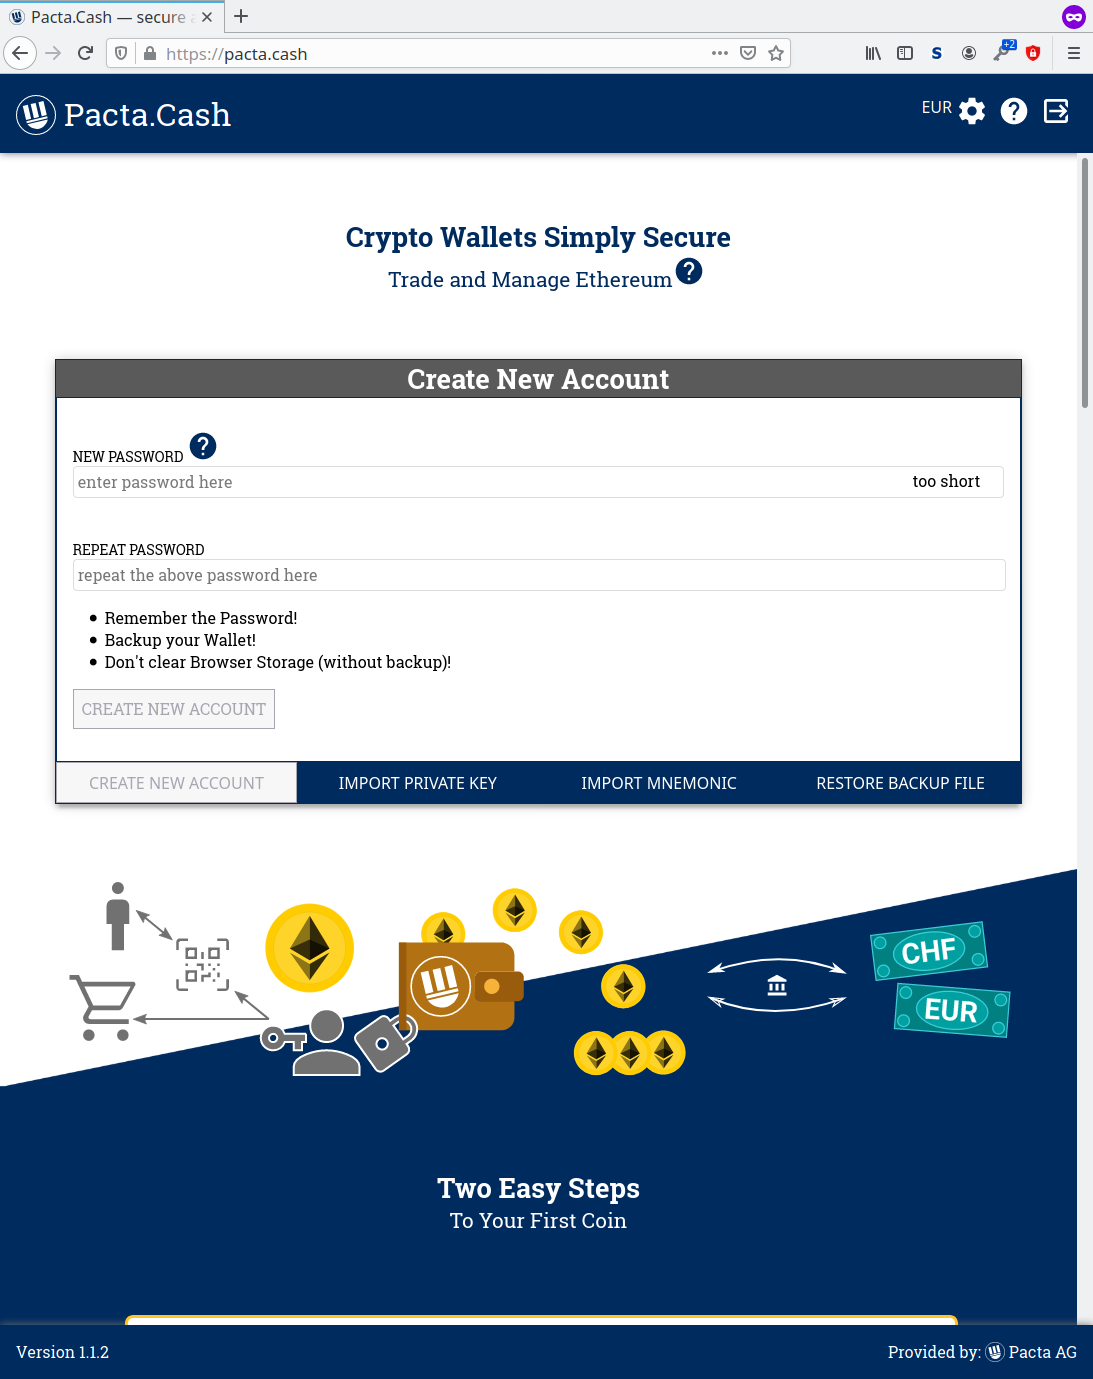
As a usage example for the above samples, here is a snippet from the landing page on Pacta.Cash:

class LandingPage extends React.Component {
  …
  render = () => (
    <>
      <StepsToCoin current={this.props.current} />
      <Container>
        <h2>
          {this.props.t("landingpage.titlewhy")}
          <span className='subtitle'>
            {this.props.t("landingpage.subtitlewhy")}
          </span>
        </h2>
        <Grid size='4'>
          <Card icon={this.FAQ}>
            {this.props.t("landingpage.wheretouse")}
            <p className='bottom'>
              <button disabled>{this.props.t("landingpage.more")}</button>
            </p>
          </Card>
          <Card icon={this.FAQ}>
            {this.props.t("landingpage.investment")}
            <p>
              <img src={ChartImage} alt='Ethereum chart of one year' />
            </p>
            <p className='bottom'>
              <button disabled>{this.props.t("landingpage.more")}</button>
            </p>
          </Card>
          <Card icon={this.FAQ}>
            {this.props.t("landingpage.privacy")}
            <p className='bottom'>
              <button disabled>{this.props.t("landingpage.more")}</button>
            </p>
          </Card>
          <Card icon={this.FAQ}>
            {this.props.t("landingpage.independence")}
            <p className='bottom'>
              <button disabled>{this.props.t("landingpage.more")}</button>
            </p>
          </Card>
        </Grid>
      </Container> 
      …
  }
}

WordPress Template

Last but not least, our blog is written in WordPress, so Pacta also needs a WordPress template in the same style. Here we do the same, as with the React Component library, only that the template is now written in PHP instead of NodeJS.

wordpress.styl

There is only a very small additional Style file for WordPress specific definitions. All other definitions are comonnly shared:

html body #wpadminbar
    height: 46px
    width: 100%

.wp-type
    margin: 0 1em
    display: flex
    flex-flow: row nowrap
    justify-content: space-between

index.php

A WordPress template requires at least an index.php file, so let’s show this as an example:

<?php get_header() ?>

<?php if (have_posts()) : while (have_posts()) : the_post(); ?>

<?php if (has_post_thumbnail()) : ?>
<div class="cropped-image">
    <?php the_post_thumbnail('full') ?>
</div>
<?php endif ?>

<div class="wp-type">
    <div>
        <?php the_category(' ', ' → ') ?>
    </div>
    <div>
        <?php the_tags('', ' ', '') ?>
    </div>
</div>
</div>
<div class="container">
    <article>
        <h1><?php the_title() ?></h1>
        <?php the_content() ?>
    </article>
</div>

<?php endwhile; ?>
<?php endif; ?>
<?php get_footer() ?>

Pacta PagesServices and Pages by Pacta AG

Pacta.Cash

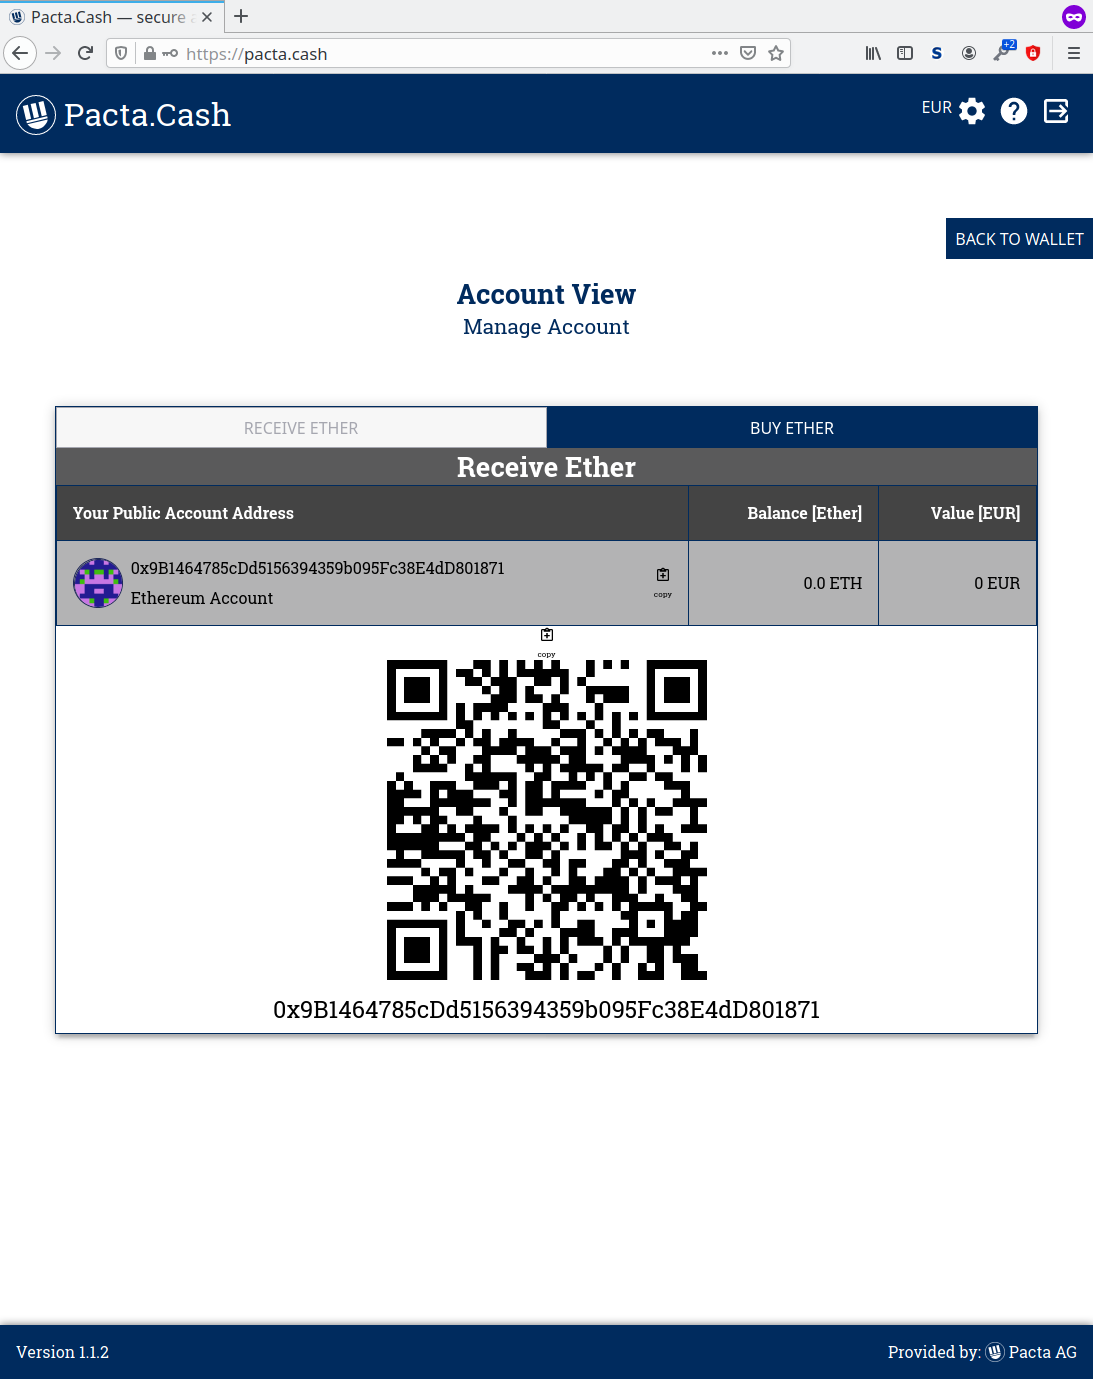
This is the easiest crypto wallet on the market. Manage your Ethers and Bitcoins securely without having to understand the technical details. You own the keys, all data is stored on your device. Trade without registration.

Pacta.Swiss

Company representation page of the Swiss Pacta Corporation Pacta Plc. This page is provided by Pacta Plc (in German: Pacta AG).